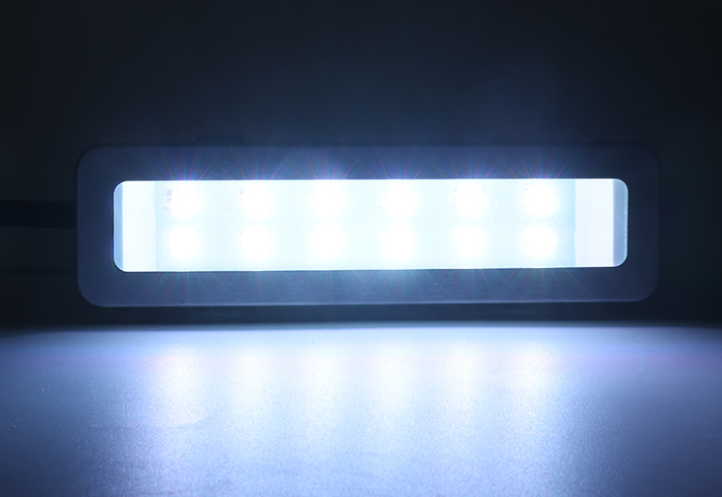
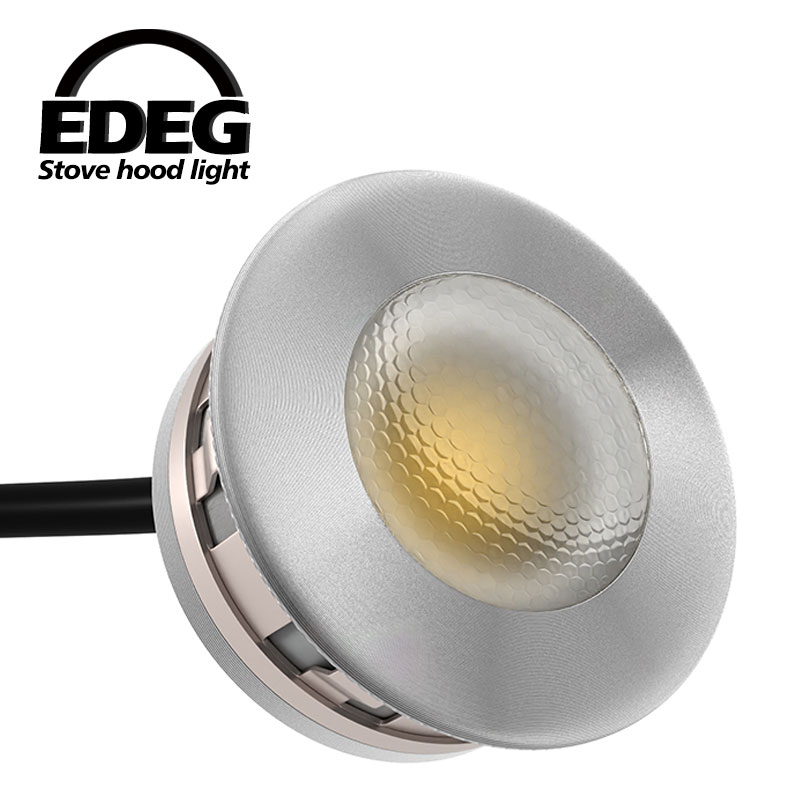
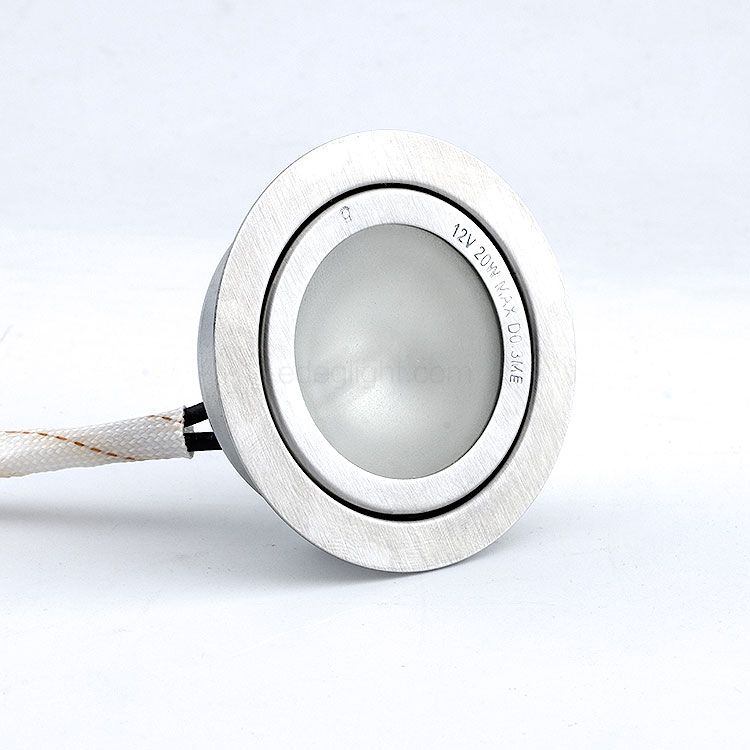
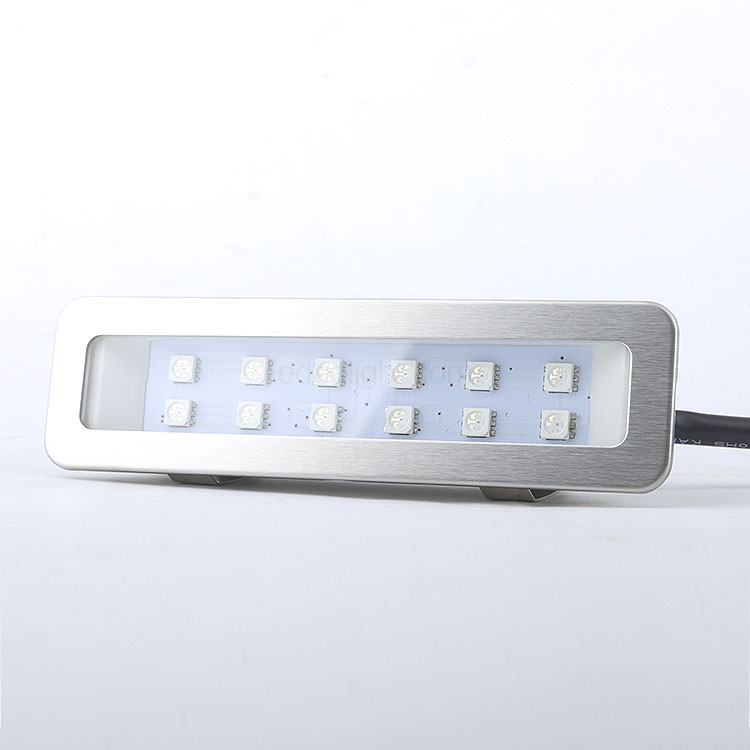
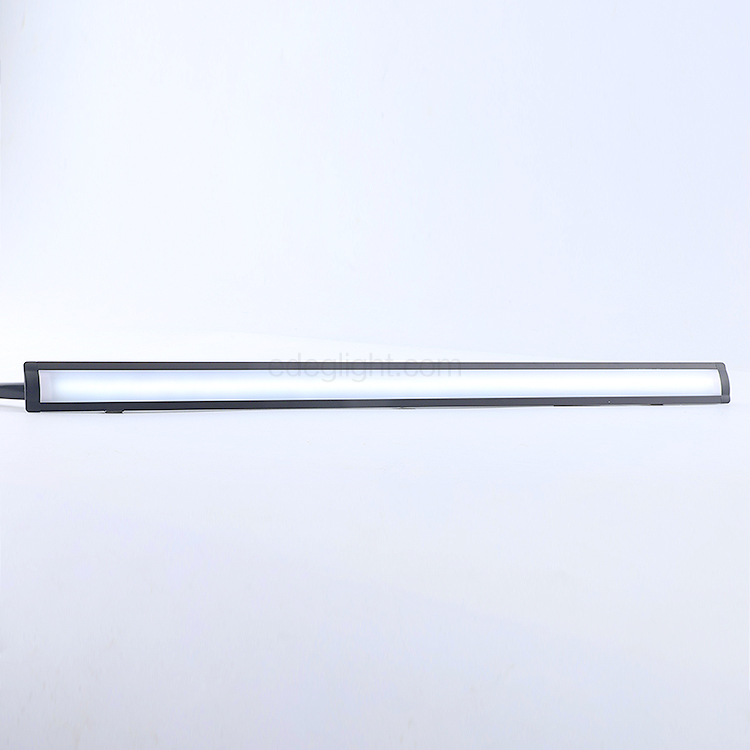
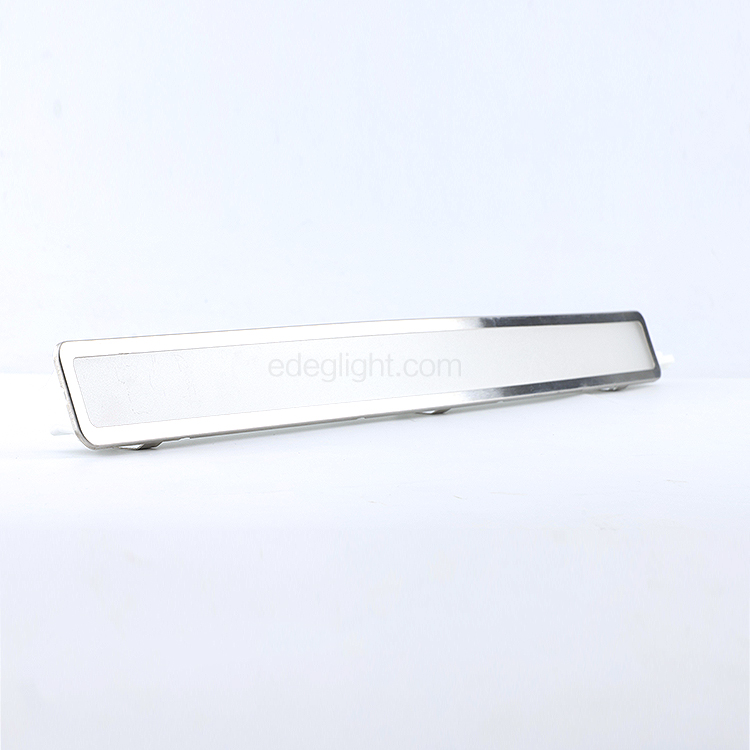
When it comes to maintaining a well-functioning range hood, proper installation and maintenance of the range hood light are essential. The range hood light not only illuminates your cooking area but also enhances the overall aesthetics of your kitchen.
This comprehensive guide will delve into the intricacies of range hood light installation and care, providing you with the knowledge and expertise to ensure a well-lit and efficient kitchen space.
The Importance of Range Hood Light
As mentioned earlier, the range hood light serves a dual purpose in your kitchen: providing illumination for your cooking activities and adding an aesthetic touch to your culinary space. Proper lighting is crucial for a well-functioning kitchen, as it enhances visibility, improves safety, and allows you to monitor your cooking progress closely. Whether you're chopping vegetables, sautéing ingredients, or baking your favorite dishes, having a bright cooking area ensures accuracy and precision in your culinary endeavors.
Installation: Step-by-Step Guide
Proper installation of the range hood light is essential to ensure optimal functionality and longevity. Here is a step-by-step guide to help you through the installation process.
Prepare the necessary tools: Before you begin, gather the required tools, including a screwdriver, wire stripper, wire connectors, electrical tape, and a ladder or step stool.
Turn off the power: Locate the circuit breaker that controls the range hood light and turn off the power supply. This step is crucial to prevent electrical accidents during installation.
Remove the old light fixture: Carefully detach the existing light fixture from the range hood. Disconnect the wiring by removing the wire nuts and untwisting the wires.
Prepare the range hood light: If your range hood light didn't come pre-assembled, follow the manufacturer's instructions to assemble the light fixture. Ensure all components are securely connected.
Connect the wiring: Connect the wiring of the new range hood light to the electrical wiring in the hood. Match the corresponding wires (black to black, white to white, and green or copper to the grounding wire) and use wire connectors to secure the connections. Wrap the connections with electrical tape for added safety.
Mount the range hood light: Position the light fixture onto the range hood and secure it in place using the provided screws or clips. Ensure the fixture is level and properly aligned with the hood.
Restore power and test the light: Turn the power supply back on at the circuit breaker and test the range hood light. If it illuminates properly, the installation is successful.
Following these steps, you can confidently install a range hood light and enjoy a well-lit kitchen space.
Maintenance Tips for Range Hood Light
Regular maintenance is crucial to keep your range hood light in optimal condition. Some maintenance tips to ensure its longevity and functionality are as follows.
Clean the range hood regularly: Regularly wipe down the range hood surface, including the light fixture, using mild detergent and a soft cloth. This helps remove grease, dust, and other residues that can accumulate over time and hinder the performance of the light.
Replace light bulbs as needed: When a light bulb burns out, promptly replace it with a new one. Ensure the replacement bulb has the correct wattage and fits the socket properly. Using the wrong bulb can lead to overheating and damage to the light fixture.
Check for loose connections: Periodically inspect the wiring connections of the range hood light. Ensure they are secure and tightly connected. Loose connections can cause flickering or intermittent lighting.
Inspect for signs of damage: Regularly inspect the range hood light for any signs of physical damage, such as cracks, exposed wiring, or discoloration. If any damage is detected, contact a professional to assess and repair the light.
Keep the light fixture dry: Avoid exposing the range hood light to excessive moisture or steam. Excessive moisture can damage the electrical components and affect the performance of the light. Clean up any spills or splatters promptly to prevent water damage.
With these maintenance tips, you can extend the lifespan of your range hood light and ensure it operates optimally throughout its service life.
Troubleshooting Common Issues
Despite proper installation and regular maintenance, range hood lights may encounter occasional issues. The following are some common problems and troubleshooting tips:
Flickering light: If your range hood light flickers, it may indicate a loose connection. Check the wiring connections and ensure they are securely fastened. If the issue persists, consider replacing the light bulb or contacting a professional for further assistance.
Dim light: A dim range hood light may result from a worn-out light bulb or incorrect wattage. Replace the bulb with a new one, ensuring it has the appropriate wattage for your range hood. If the problem persists, consult a professional.
Light not working: If the range hood light fails to turn on, check the power supply by testing other electrical devices in the kitchen. If the power supply is working correctly, inspect the light bulb for any signs of damage or burnout. Replace the bulb if necessary. If the issue persists, consult a professional electrician.
Buzzing or humming noise: Unusual noises coming from the range hood light may indicate a problem with the wiring or the ballast. Contact a professional electrician to diagnose and resolve the issue.
Addressing these common issues properly, you can identify and resolve problems with your range hood light, ensuring it continues to illuminate your kitchen effectively.
Conclusion
With proper assembly and take care, your range hood light operates optimally, providing adequate illumination for your cooking activities. This is vital for a well-lit and efficient kitchen space. EDEG is a professional range hood light manufacturer in China, and you can find the best one for your kitchen to enhance the functionality and aesthetics of your kitchen for years to come.
.png)

